3D Image Acquisition Technology
SAKI’s beginnings were with line scan technology that captured images of the entire surface of a PCB at once; subsequently, this full-board inspection was the starting point for SAKI’s technological development. A dedication to full-board inspection has been carried over into 3D inspection, producing many benefits such as improved inspection accuracy and reduced library management overheads.
Full Board Image Obtained by Batch Imaging
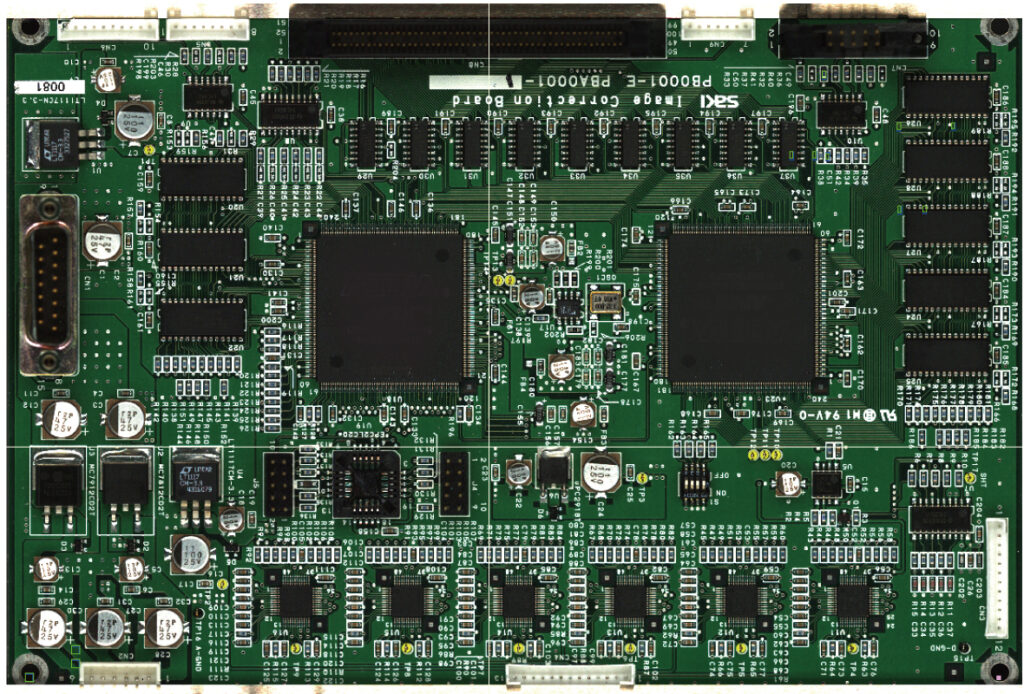
Many of SAKI’s original image processing technologies are used to obtain clear 3D images of the entire board surface. This is common to SPI, AOI, and AXI, and is an important element in achieving high-precision inspection in each inspection process.
01
Substrate Surface Correction Technology
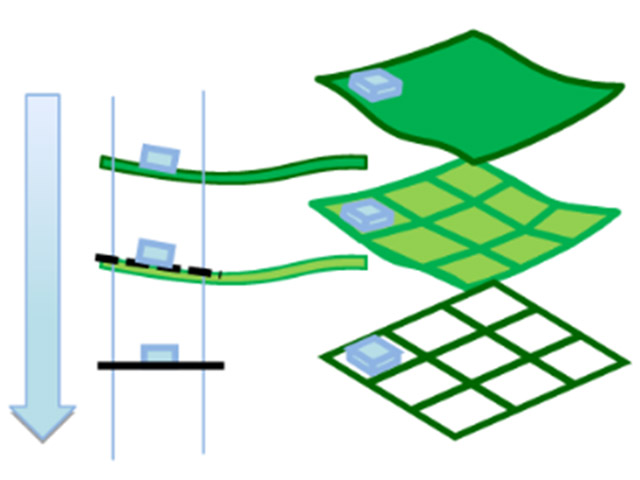
The board surface is the reference for component height measurement – accurate board warpage correction is essential to accurately search the board surface. This is achieved by automatically measuring the height of the board surface where warping occurs and adjusting it to the reference height. In the case of AXI, the board pattern that serves as the reference board surface is automatically searched and the image is corrected pixel by pixel, not only in the XY directions, but also in the Z direction.
02
Image Generation Technology
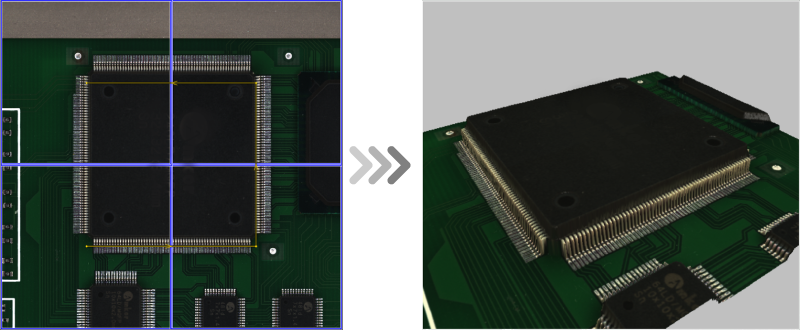
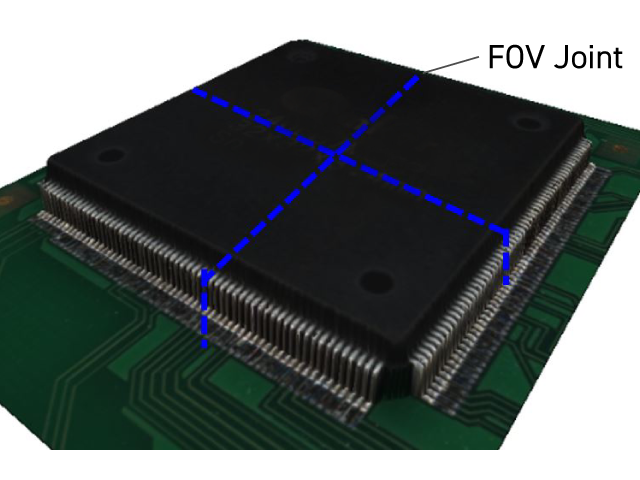
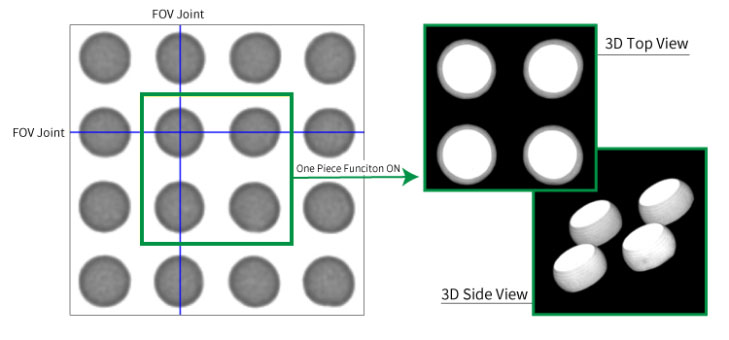
To further improve inspection accuracy, SAKI connects images from each FOV to manage a single board as a 3D image. Seamless image generation relies on absolute hardware accuracy, as well as advanced image processing. 3D information is acquired on the entire screen, allowing for inspection of surplus parts on the board surface.
AOI generated image
AXI generated image
03
Image Generation Technology – Expansion in the Z Direction –
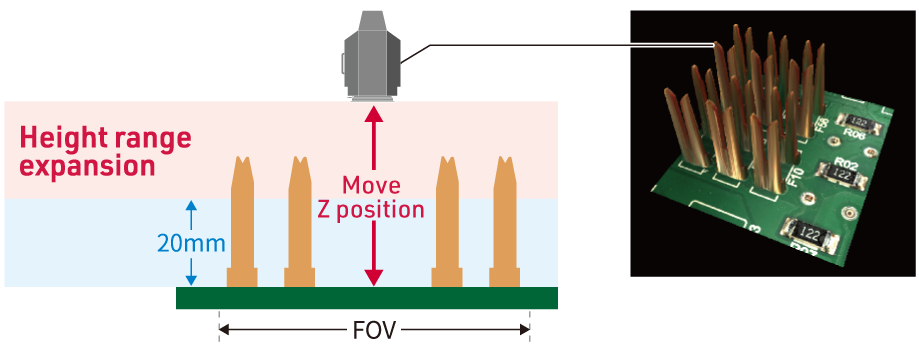
In recent years, automation of back-end processes has progressed, and AOI inspection of tall components has become necessary. SAKI’s Z-axis mounting option expands inspection capabilities in the Z direction for both 2D and 3D AOI.
By compositing images expanded in the Z direction, a seamless component image is obtained for height. This allows solder inspection, height measurement inspection of tall components, and polarity inspection of component surfaces to be performed simultaneously.
04
Reduction of Library Management Time
Seamless generation of 3D images in the X, Y and Z directions also contributes to reducing inspection library management time. If image synthesis technology is not available, large components that span multiple FOVs will require separate inspection libraries for each FOV. SAKI’s inspection equipment with image generation technology has the advantage of being able to inspect all components mounted on a board using the same library, thus users do not need to manage libraries differently based on imaging conditions.
